Mailchimp to Klaviyo Migration with Beena
This guide explains how Beena works from start to finish, what to expect at each stage, and how to safely review and activate your migration — without surprises.
What Beena Does
Beena copies the email templates and flows you have already built in Mailchimp into Klaviyo, so you don't need to recreate them from scratch.
- You choose exactly what to bring over. Select specific templates, automations, or both.
- Everything arrives in draft state. Beena creates items in Klaviyo as paused or draft — nothing sends automatically.
- Mailchimp stays unchanged. Your source account is never modified during migration.
You review and adjust everything in Klaviyo before turning anything on.
Pricing & Free Trial
Pay only for what you migrate
- 1 email template
- 1 automation (first email only)
- All contacts
- All uploads (images & files)
A Mailchimp automation with 10 emails costs 10 × $20 = $200. You're charged only for items that successfully migrate — if 10 are selected but only 9 complete, you pay for 9.
Prerequisites
Before starting your migration, make sure the following are in place:
Step 1: Connect Beena to Klaviyo
Before installing the desktop app, you need to connect your Klaviyo account to Beena. This allows Beena to create templates and flows in your Klaviyo account.
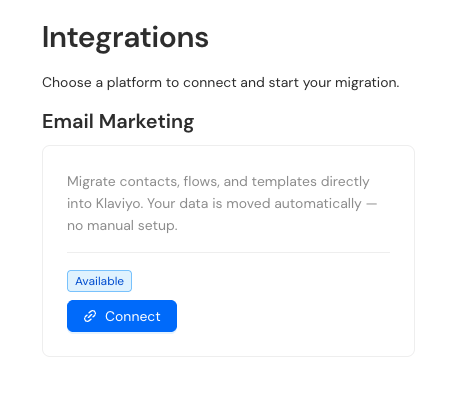
Go to Integrations
After signing up and logging in to Beena, navigate to the Integrations page and click Connect next to Email Marketing.
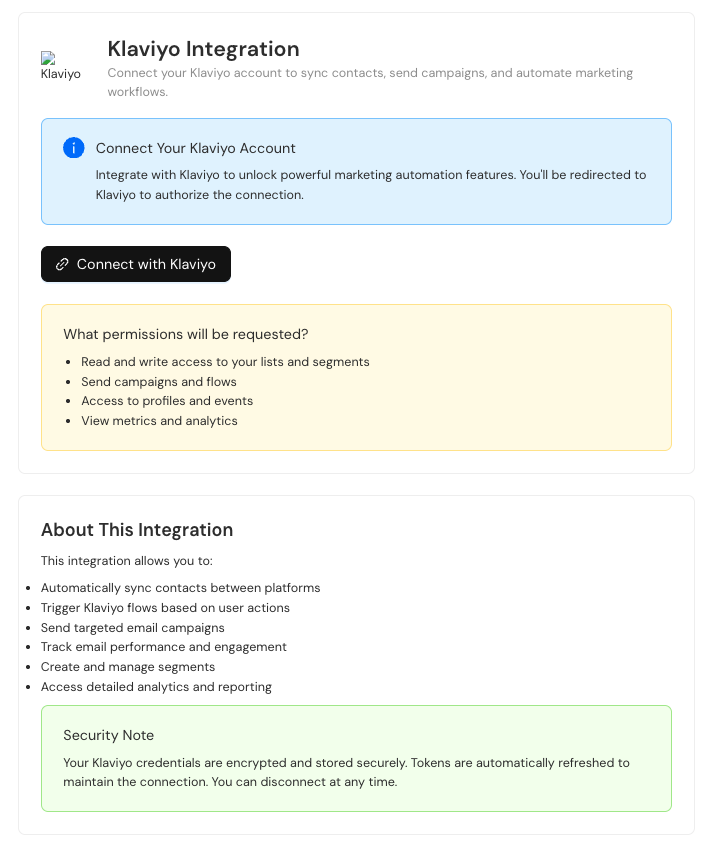
Connect with Klaviyo
Click the "Connect with Klaviyo" button to begin the authorization process. You'll see information about what permissions Beena needs.
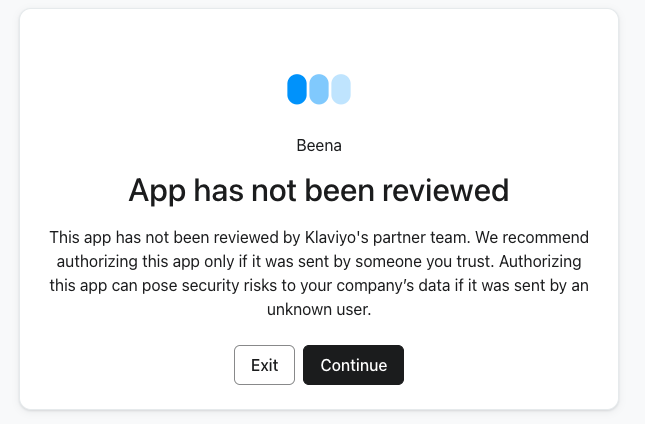
Authorize the connection
Klaviyo will show a warning that the app hasn't been reviewed. Click "Continue" to proceed — this is normal for new integrations.
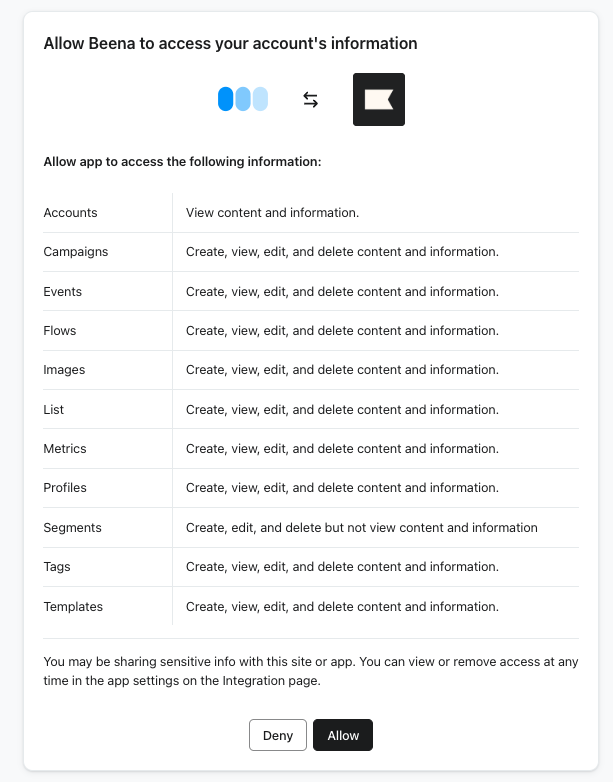
Review the permissions Beena is requesting and click "Allow" to grant access.
Connection confirmed
Once connected, you'll see a success message. Your Klaviyo account is now linked to Beena and ready for migration.
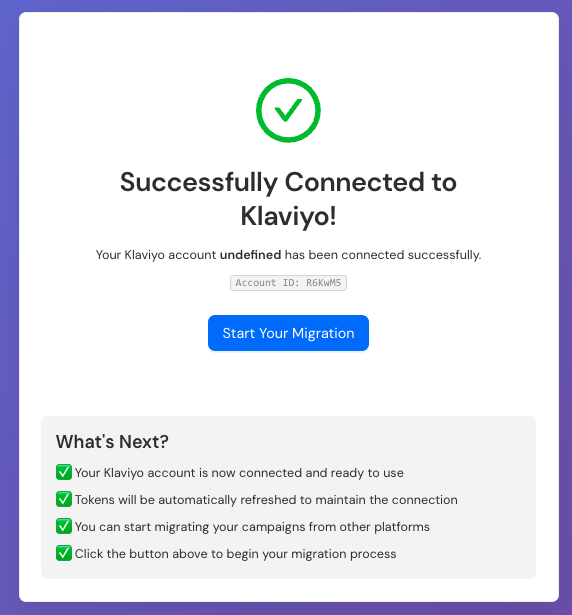
Your Klaviyo credentials are encrypted and tokens are automatically refreshed. You can disconnect at any time from your Klaviyo settings.
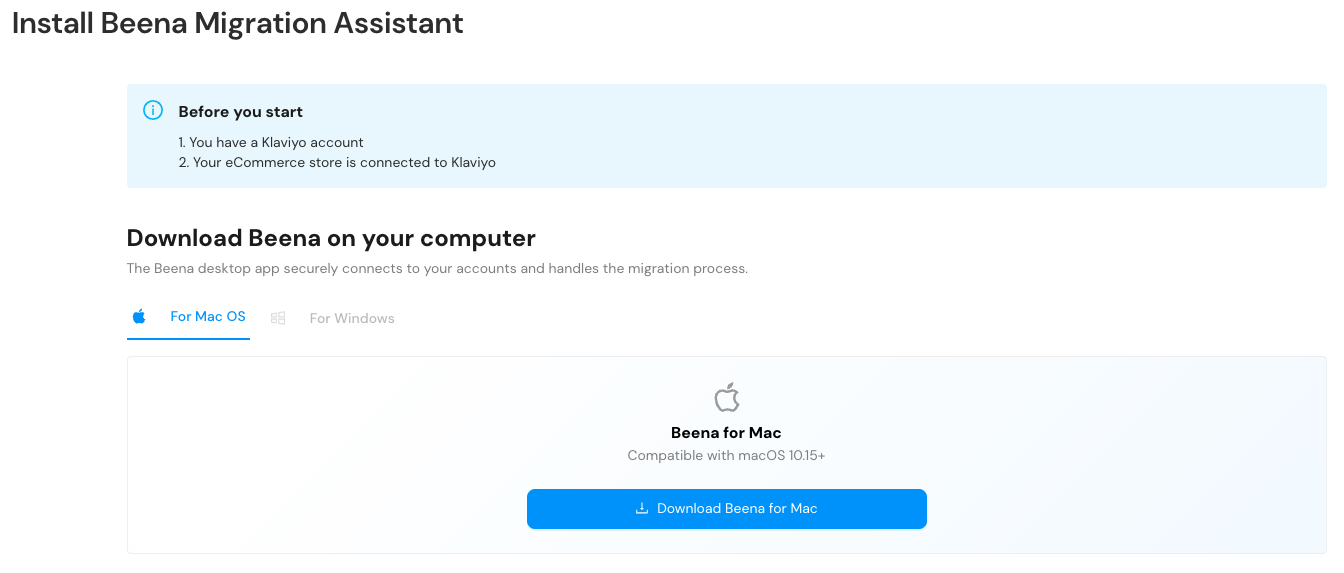
Step 2: Install Beena Migration Assistant
Beena uses a lightweight desktop app so your migration can run reliably from your computer. The app only runs while your migration is in progress.
Enable local network access
After installing and opening Beena, your browser may show a prompt asking to allow local network access. Click "Allow" — this is how the Beena desktop app communicates with your Mailchimp and Klaviyo accounts.
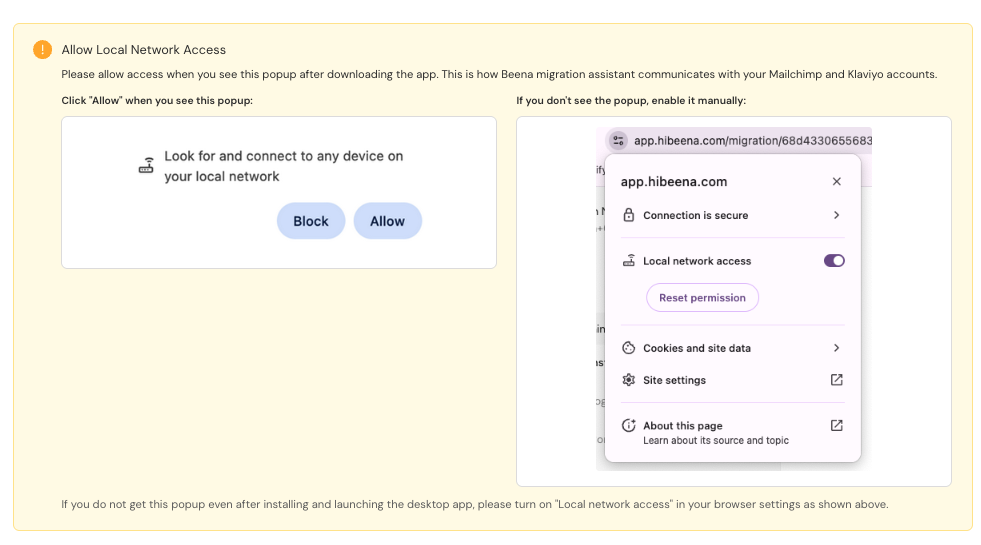
If you don't see the popup, you can enable it manually by clicking the site settings icon near the address bar and turning on Local network access.
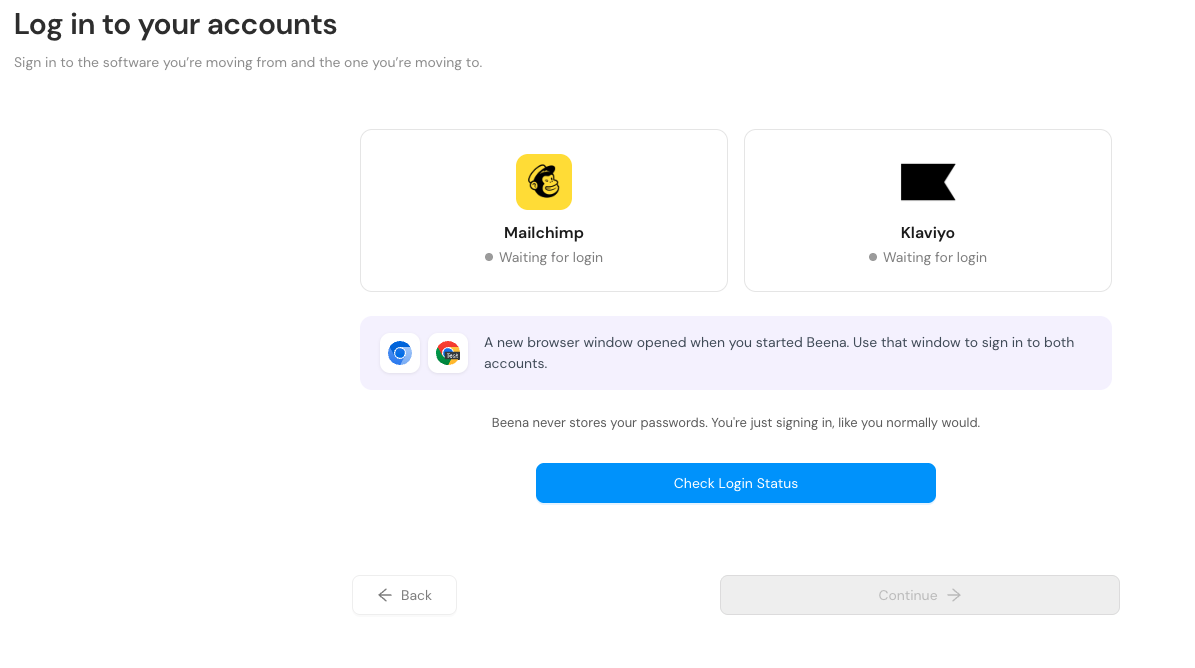
Step 3: Log In to Mailchimp and Klaviyo
When Beena starts, it opens a separate browser window — labeled "Google Chrome for Testing" (or similar) in your menu bar — with tabs for both Mailchimp and Klaviyo. This is a dedicated window used only for the migration process. Log in to both accounts inside this window:
- Mailchimp (source account)
- Klaviyo (destination account)
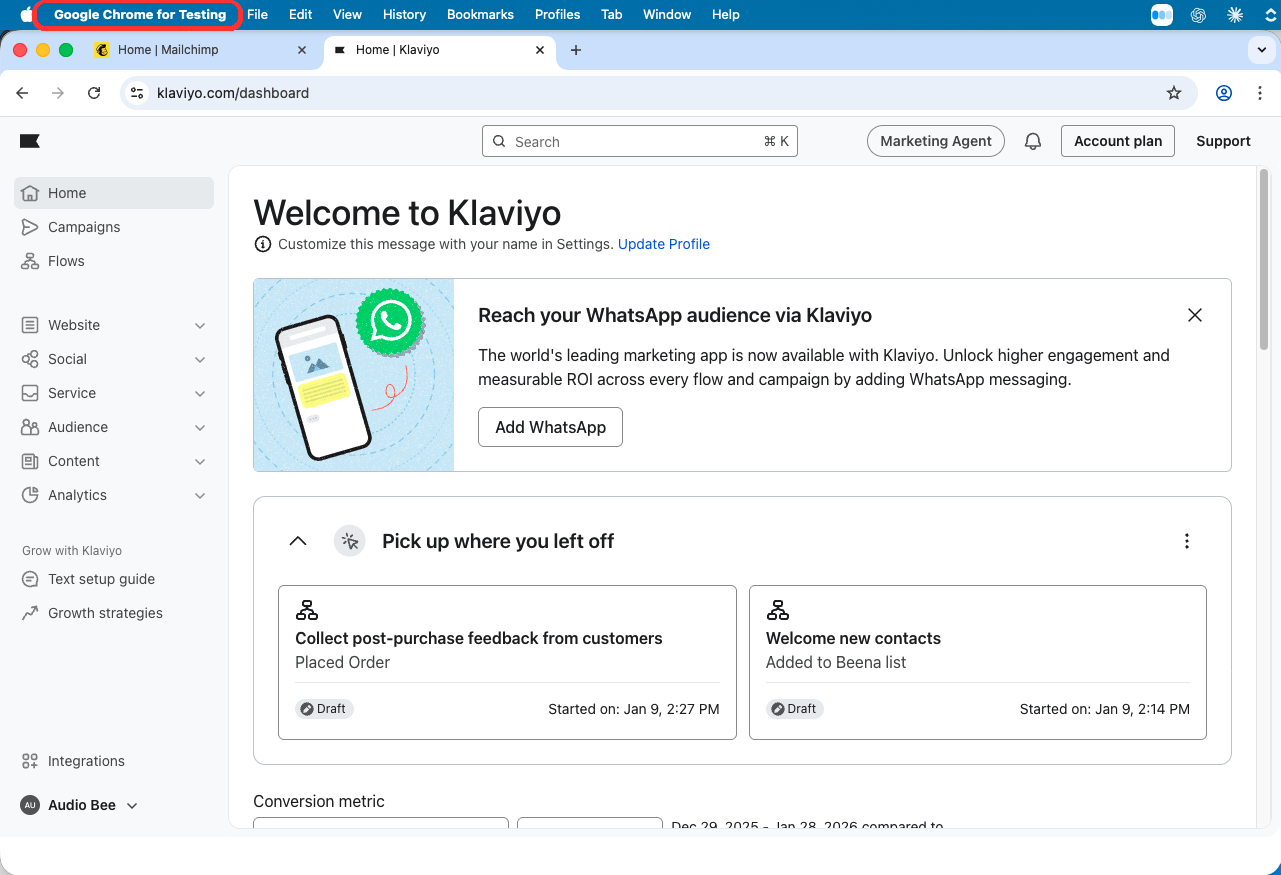
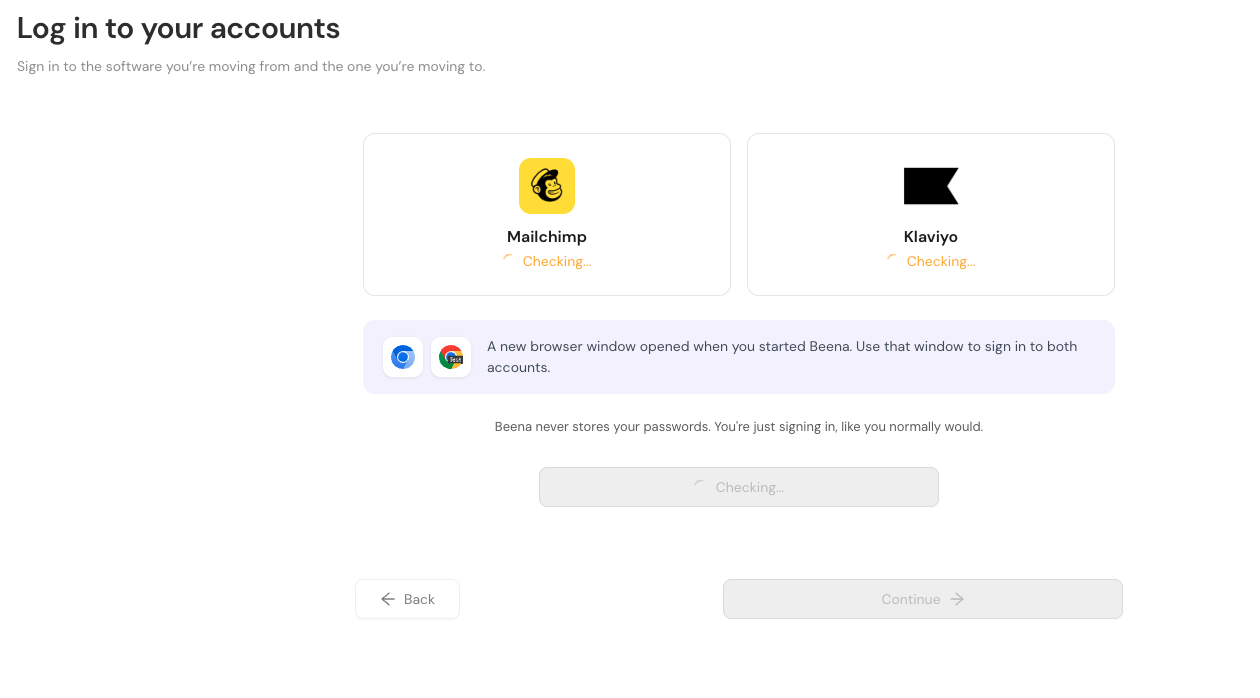
Back in the Beena app, you'll see it waiting for you to log in to both accounts.
Beena will check your login status and show progress as it verifies both connections.
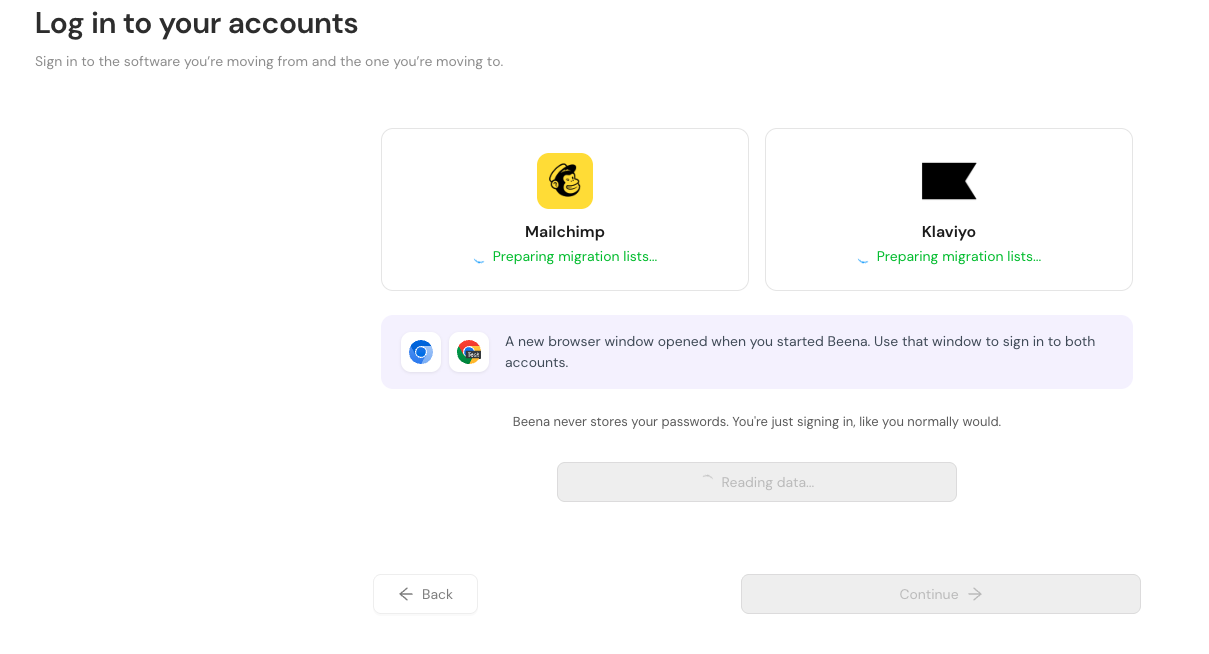
Once logged in, Beena reads your Mailchimp account to identify templates, automations, and other items available for migration.
When both accounts are verified, you'll see green checkmarks and can continue to the next step.
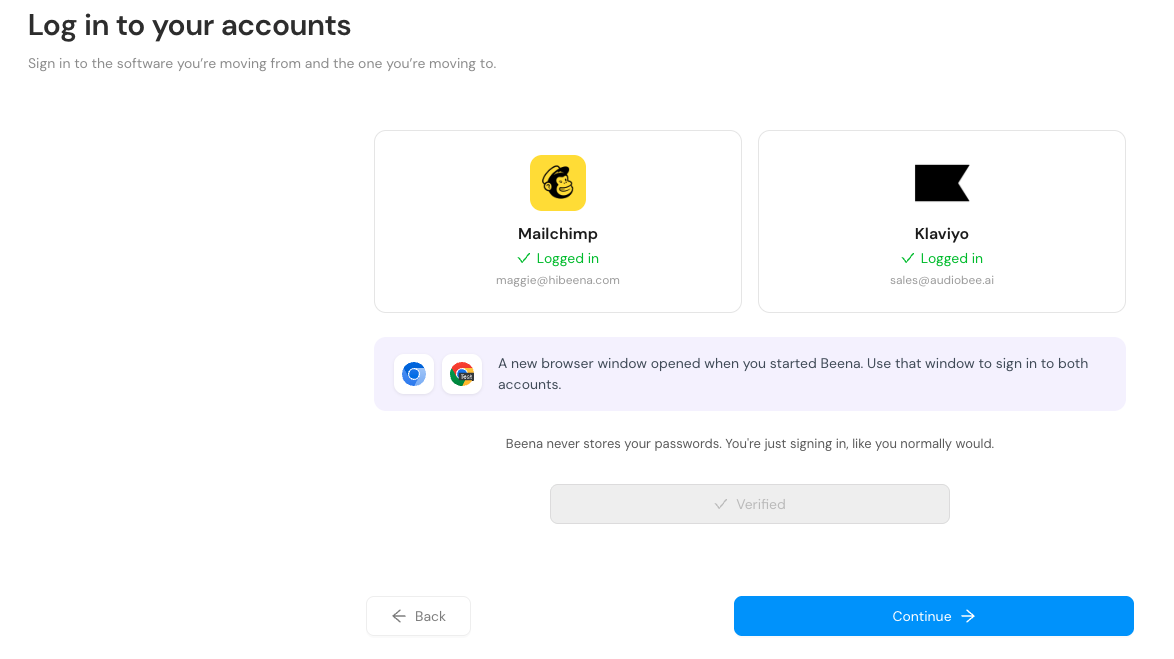
This step doesn't move or change anything in either account. It simply confirms Beena can access both platforms.
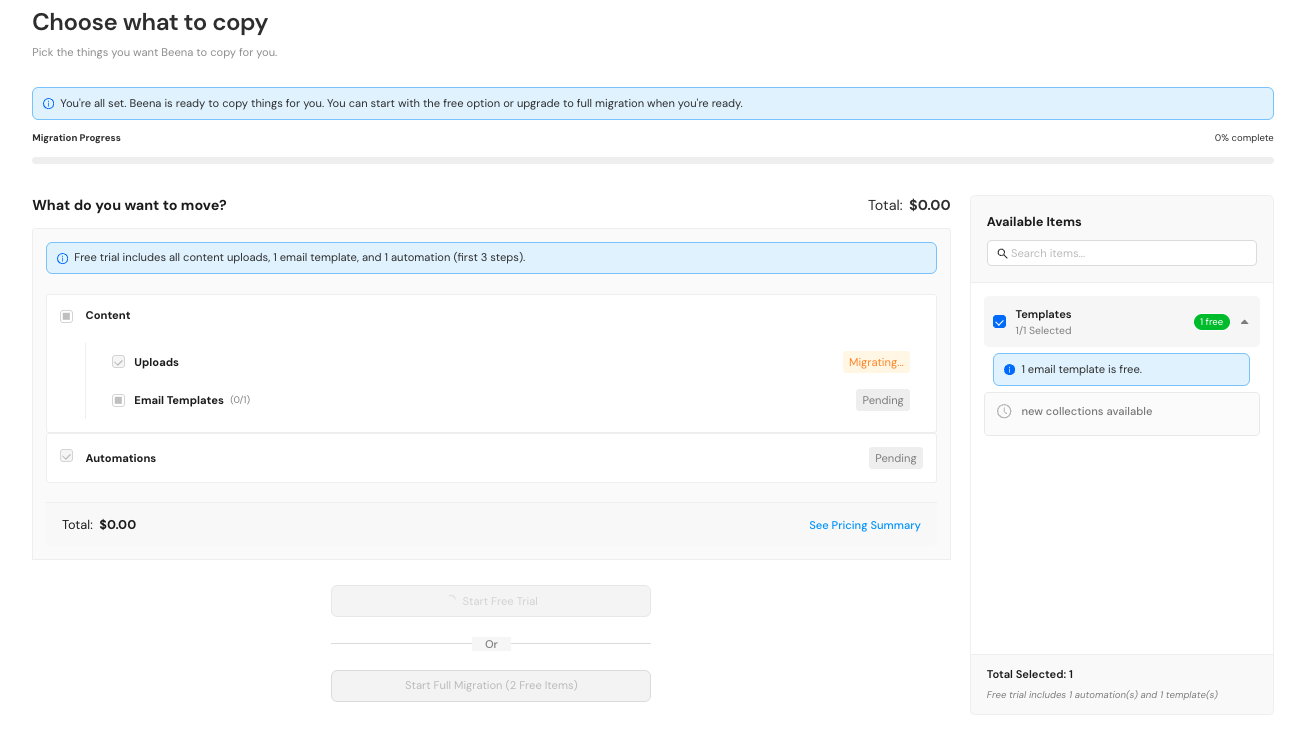
Step 4: Choose What to Copy
In this step, you select what you want to migrate from Mailchimp into Klaviyo. Common options include:
- Contacts — your subscriber lists (always free)
- Uploads — images and files used in your emails (always free)
- Email templates — your designed email layouts
- Automations — for example, a Welcome series or post-purchase flows
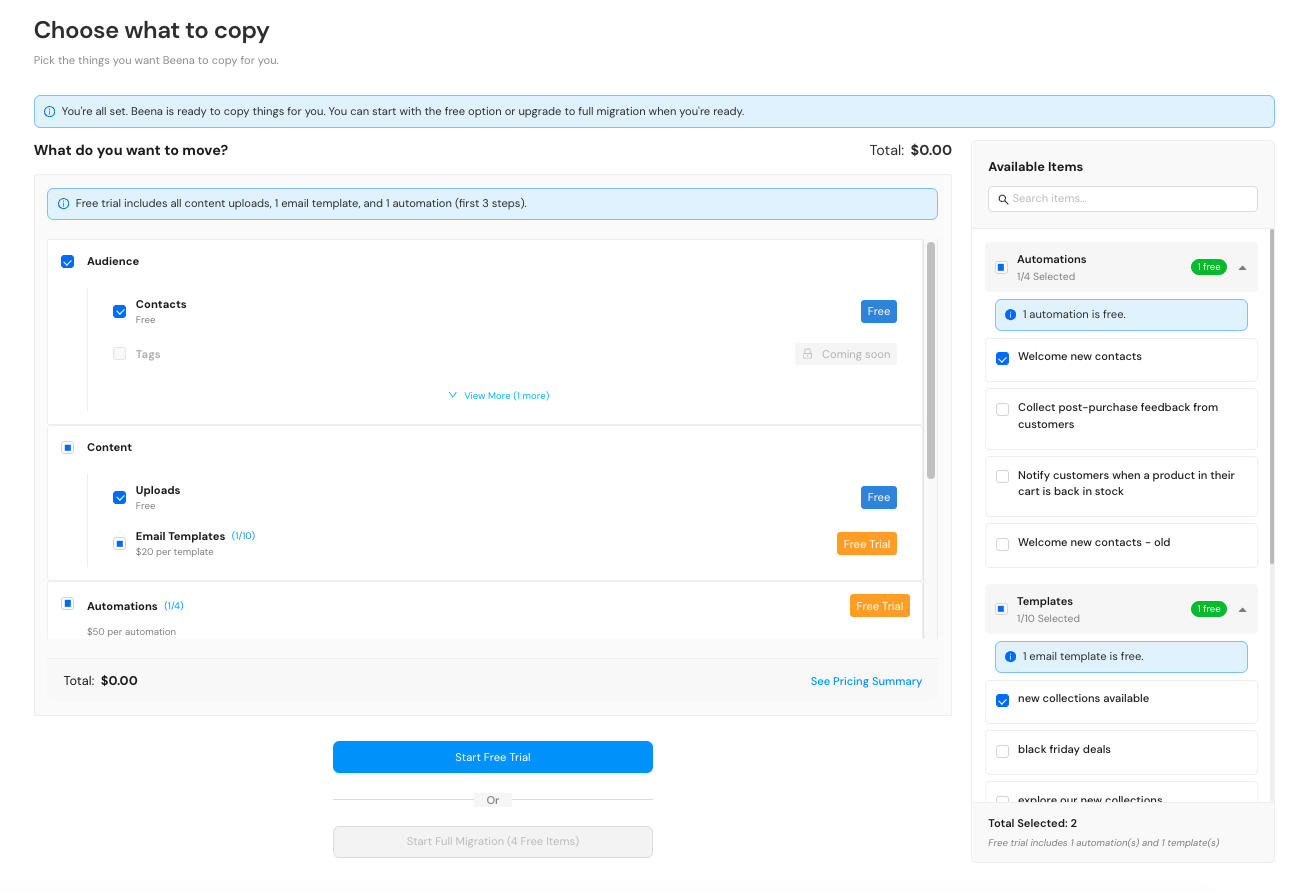
You can migrate just one item or many. It's common to start small with the free trial and bring over more later.
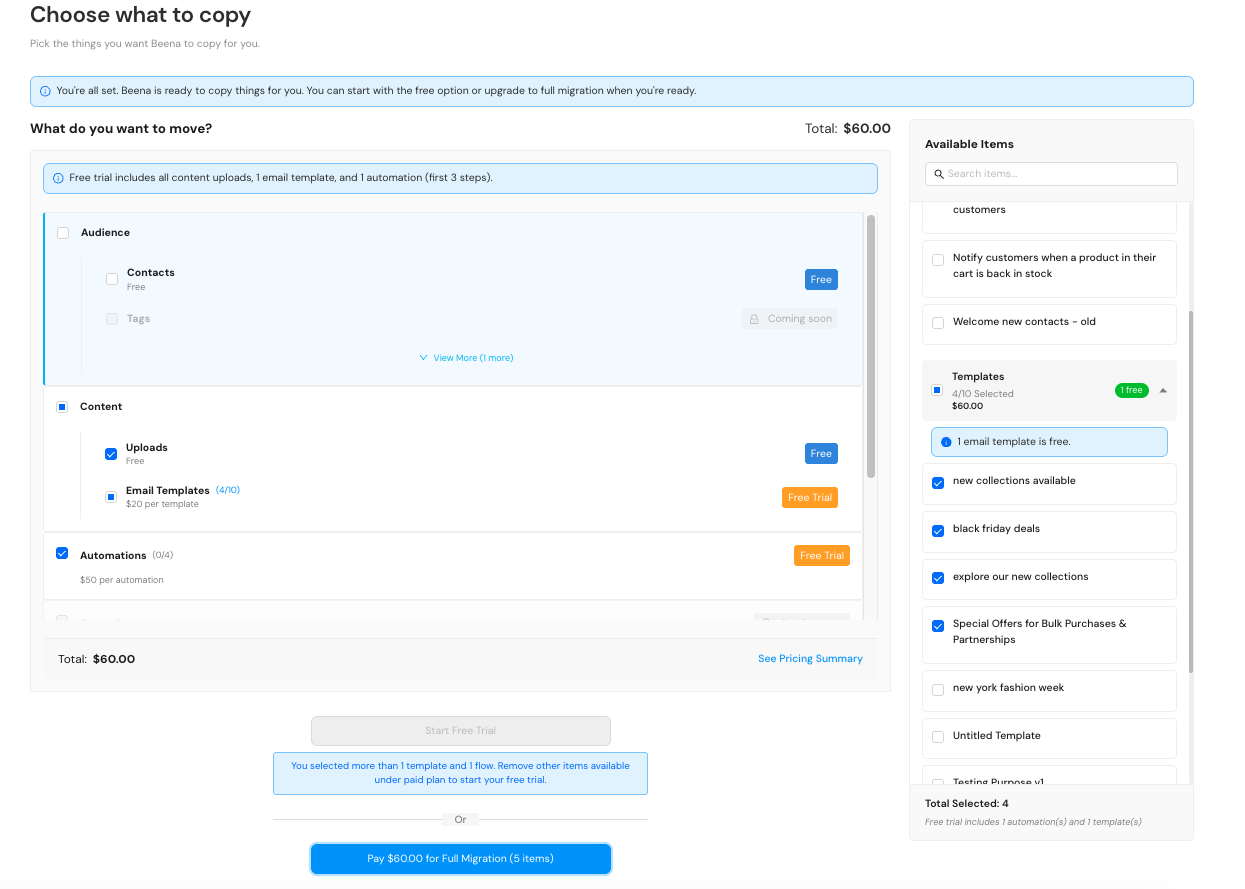
Paid migration
If you want to migrate more than the free trial allows, select additional items. The total cost updates in real-time as you add items. When you're ready, click "Pay for Full Migration" to proceed.
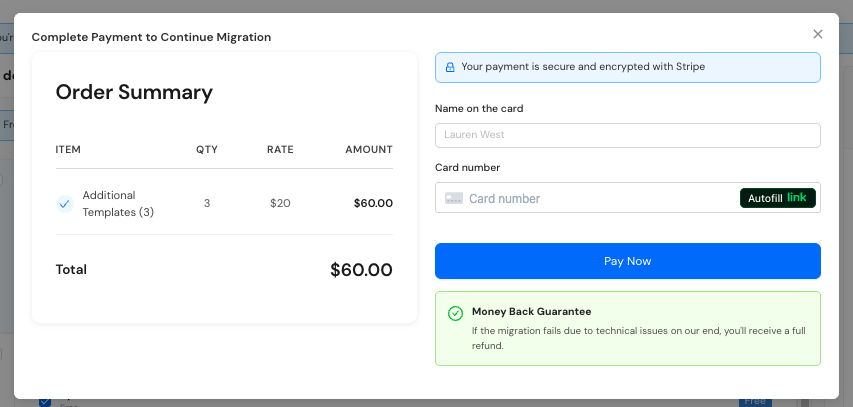
You'll see an order summary with the breakdown of what you're paying for. Payment is processed securely through Stripe.
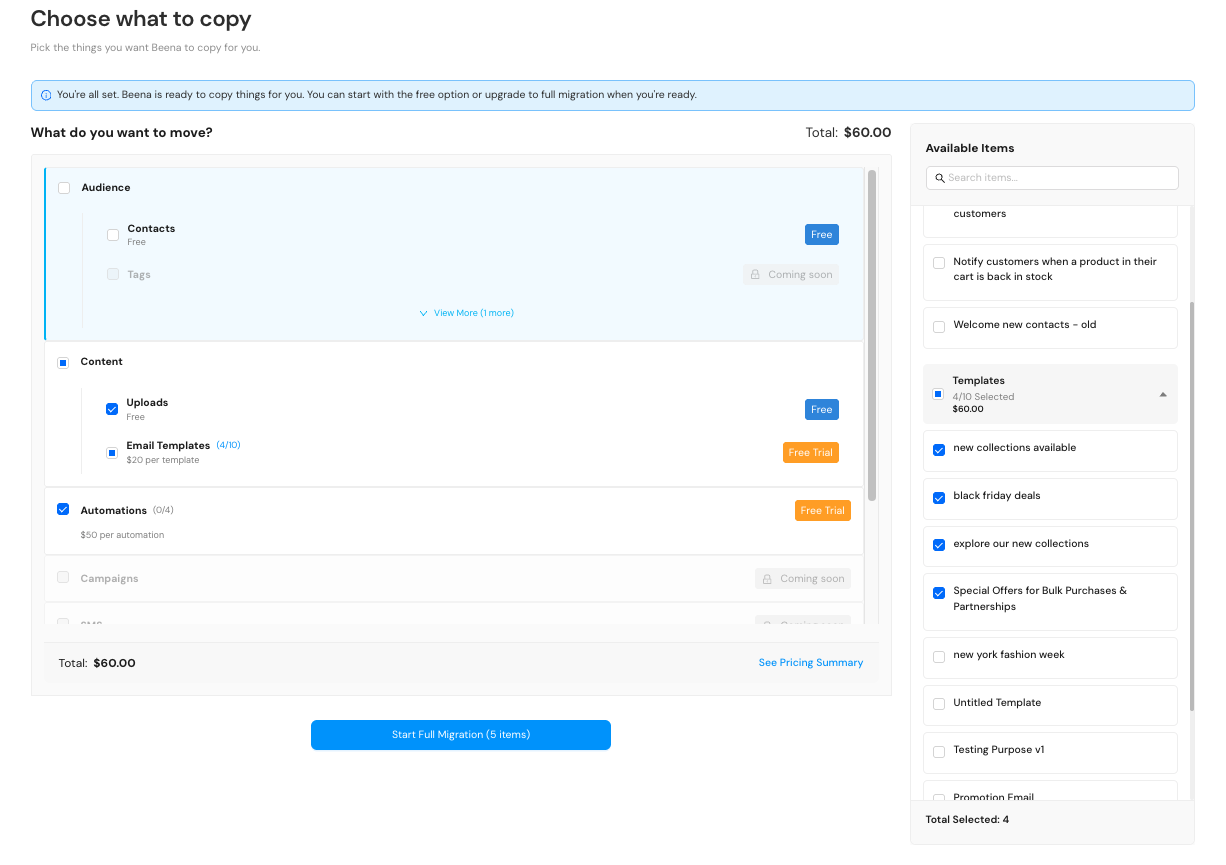
After payment, click "Start Full Migration" to begin copying your selected items.
Step 5: Run the Migration
When you start the migration, Beena begins copying your selected items into Klaviyo and shows live progress.
Keep the Beena desktop app and the browser window where migration is running open until migration finishes. You can continue using your computer, but do not quit Beena while the migration is in progress.
If the migration is interrupted, you're charged only for items that were successfully migrated. Any items that didn't complete can be migrated again by starting a new migration.
Migration status
You may see the following statuses during the process:
| Status | Meaning |
|---|---|
| Pending | Queued and waiting to run |
| Currently copying | |
| Success | Finished successfully |
How long it takes
On average, copying an email takes about 5 minutes, depending on the number and complexity of blocks in the email. Longer migrations are normal for larger emails.
Step 6: Review in Klaviyo
When Beena finishes, you'll see a completion summary with next steps and can download a migration report.

Next steps in Klaviyo
We recommend reviewing your migrated items in the following order:
About flow triggers and logic
Mailchimp and Klaviyo handle flow triggers and events differently. Beena maps triggers as closely as possible, but you may want to adjust them to better match your Klaviyo setup.
Many users take this opportunity to improve or rebuild parts of their flows using Klaviyo's more advanced segmentation and event capabilities.
How to Go Live Safely
After reviewing your migrated items, we recommend turning things on gradually. This helps catch issues early and avoid unexpected sends.
Confirm your store integration
Verify that key events are flowing correctly in Klaviyo.
QA templates visually
Review email layout on desktop and mobile.
QA flow logic
Check triggers, filters, and delays to ensure they behave as expected.
Send test emails
Send test emails to internal addresses before activating flows.
Follow inbox warming best practices
Especially important if you're sending from Klaviyo for the first time or increasing volume.
Turn on flows gradually
Start with your Welcome flow, then enable additional flows one at a time.
Keep Mailchimp active temporarily
Keep your Mailchimp account active until everything is confirmed working in Klaviyo.
Download the Migration Report
After the migration completes, download and keep the migration report. The report is useful for:
- QA and internal review — Share with your team for approvals
- Billing confirmation — Verify final item counts
- Support follow-ups — Helps resolve issues faster if anything looks off
Need Help?
If something looks incorrect or incomplete after migration, contact Beena support via live chat.
Sharing your migration report helps the support team review what happened and resolve issues faster.
Questions about your migration?
Our support team is here to help you get set up successfully.
Contact Support